Ghoulish Pumpkins - PROJECT
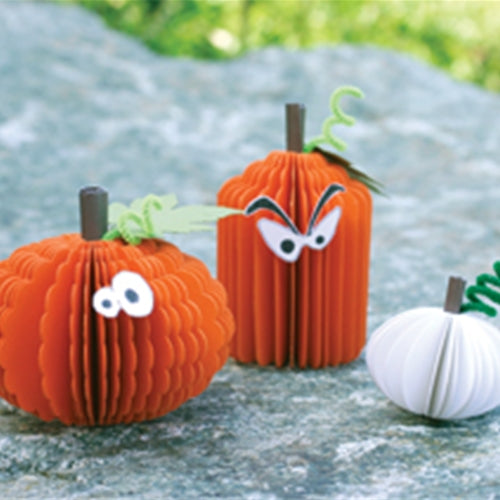
Designed By: Uchida of America, Corp.
Skill Level: Beginner
Materials:
- Colored card stock, your choice, Pumpkin – orange, white, cream, beige, Face – brown, black, or white with the face drawn in. Stem – green or brown
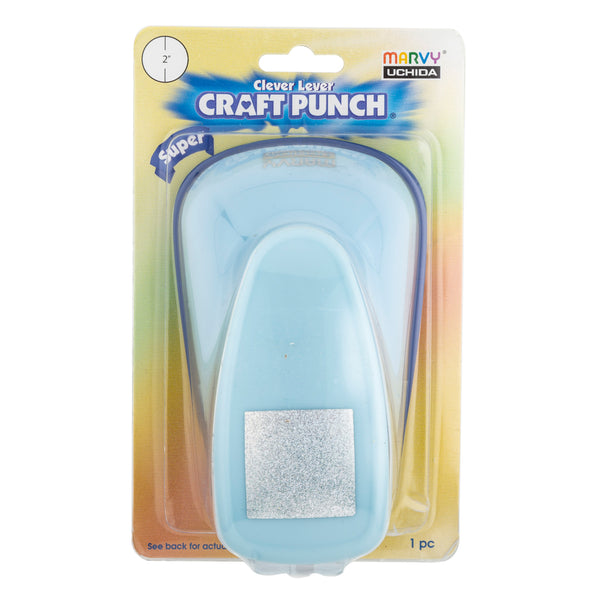
- Marvy® Scalloped oval: We used Giga craft punch, but size is your choice. Depends on how large or small you want the pumpkins to be.
- Marvy® Merchandise tag: We used Giga craft punch, but size is your choice. Depends on how large or small you want the pumpkins to be.
- Marvy® Embossing leaf punch - grape or maple.
- Craft glue
- Craft brush or popsicle stick for applying glue.
Instructions:
- Punch out about 24 “Giga” scallop ovals. (How many used will depend on how full want the pumpkin to look.)
- Fold each oval in half.
- Glue ovals together, back-to-back, one next to the other.
- When complete, stack and bind folded ovals with a rubber band, securing all parallel to the folded straight edge. Make sure there are no gaps along the folded straight edge.
- Spread craft glue along the straight edge; as in bookbinding and allow to dry for several hours.
- Once dry, stand the folded edge up, form a circle and glue the open ends back-to-back. This should form an oval sphere.
- For the pumpkin face, use 1⁄2” circle and/or oval punches to cut eyes and mouth from contrasting cardstock. Glue on the oval sphere. Or draw a funny face on a white cardstock, cut it and glue to pumpkin.
- For a stem, roll a small green cardstock cone and glue it into the center of the oval sphere. A twig, chenille stem or dowel can also be used.
- Punch out leaf and glue to the stem.
[author name="Created By: Marvy Uchida Team" bio="Our talented in-house creative team" image="marvy-uchida-square-logo.jpg" facebook="https://www.facebook.com/marvyuchida/" instagram="http://instagram.com/marvyuchida" pinterest="https://www.pinterest.com/marvyuchida" youtube="https://www.youtube.com/marvyuchida/"]


Leave a comment