Hexagon Patterned Pillow

Designed By: Uchida Staff
Crafting Time: 2 hours
Skill Level: Beginner
Materials:
- Standard size pillow cover, polyester/cotton blend with zipper
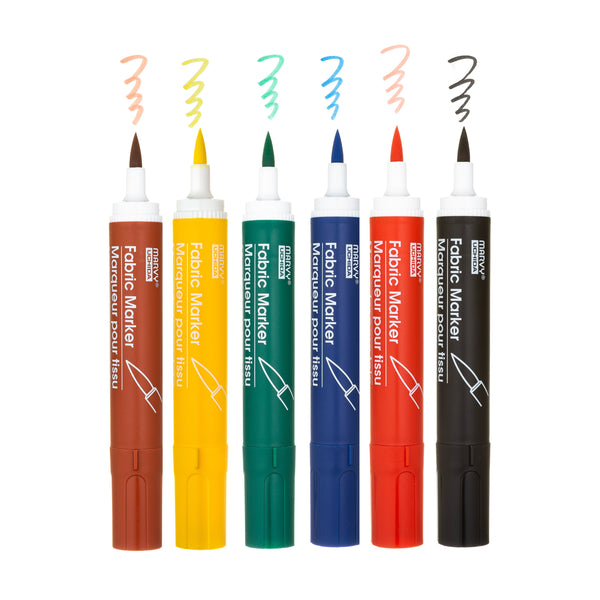
- Marvy® Fabric Marker brush tip item #722 - fluorescent light blue, fluorescent green, fluorescent violet, yellow
- Marvy® Fabric Marker bold tip item #520 - blue
- Marvy® Erasable Fabric Marker item #422 - pink
- Cardboard large enough to fit into a pillowcase
- Hexagon Pattern Template
Instructions:
All measurements are in inches.
- Print nestled hexagon pattern and cut out each shape.
- Place your pillowcase flat on a table. Start on the left and find the center. Place the largest hexagon pattern in the center with a flat side parallel to the edge. Then outline the outer and inner shape with the erasable fabric marker. Take the next smaller shape and place it in the center of the large shape and outline its shape. Repeat until it is nestled. Then move 1/2 inch to the right create another nestled shape.
- Create another nestled shape above and below between the first two. Leave 1/2 inch spaces between each pattern. Move 1/2 inch toward the edge to create another shape. If a full shape does not fit, then pattern draw part of it. The whole pattern will look like a triangular honeycomb.
- Repeat steps 2 & 3 on the right side.
- Once the shapes are drawn, place a piece of cardboard in the pillowcase. This will prevent the colors from transferring to the back fabric. Move the cardboard and make sure it is under the area you are working on.
- Paint the outer ring fluorescent light blue, the next fluorescent violet, fluorescent green, and the center yellow. Allow colors to dry in between each application so that it does not bleed into each other. Repeat this for all the shapes. Then dry for 15 to 20 minutes. If colors seem a little light, then reapply a second coat of color to make it more vibrant. Allow it to dry again.
- When colors are completely dry, outline the hexagons with Fabric Marker

Leave a comment