How To Make a DIY Glitter Awesome Tote Bag
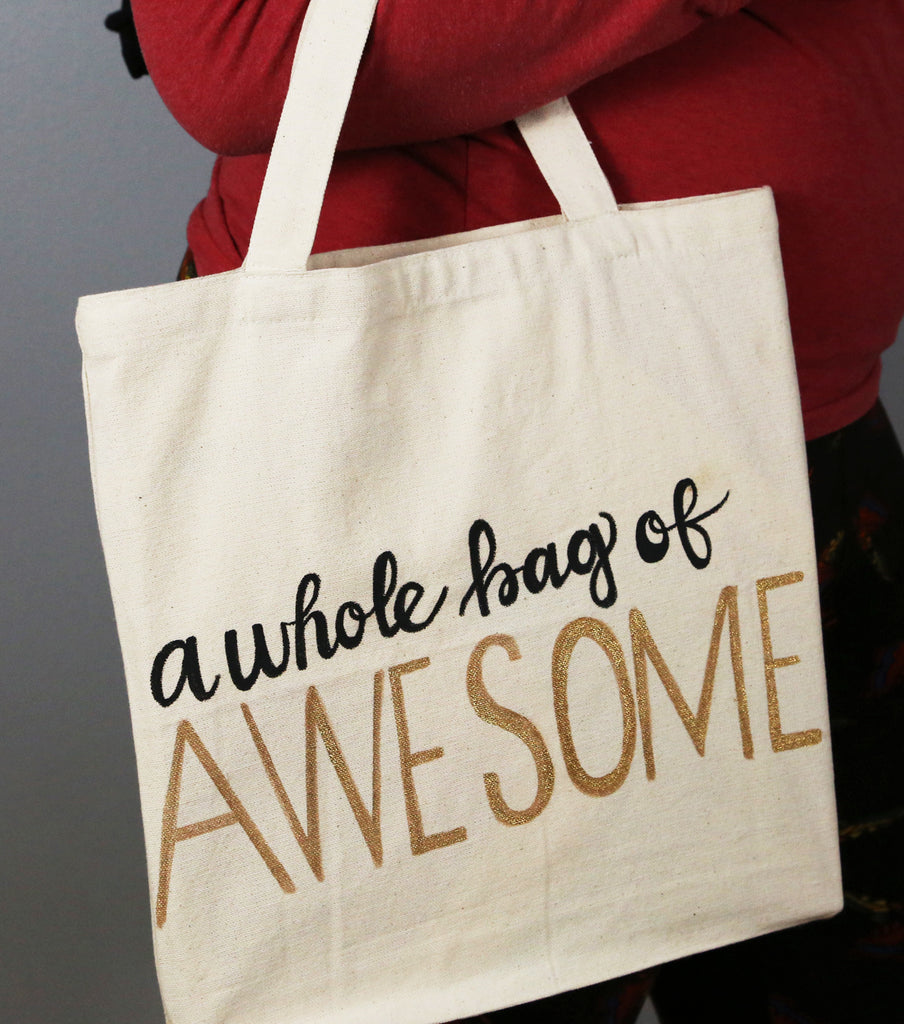 Skill Level: Beginner
Materials:
- Cotton Medium Tote
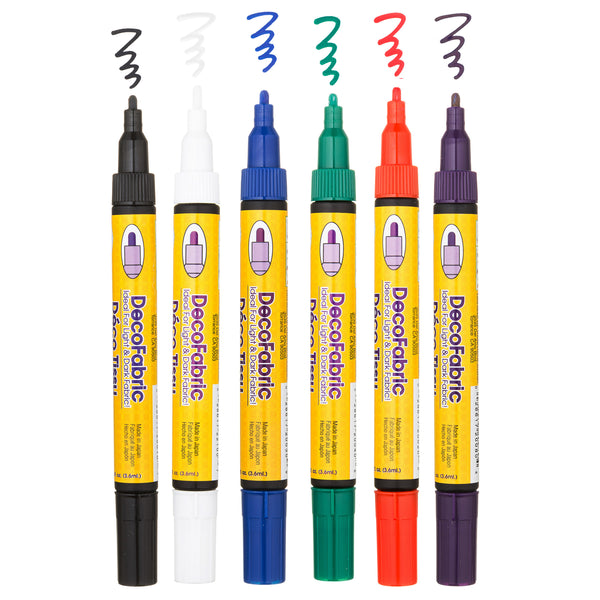
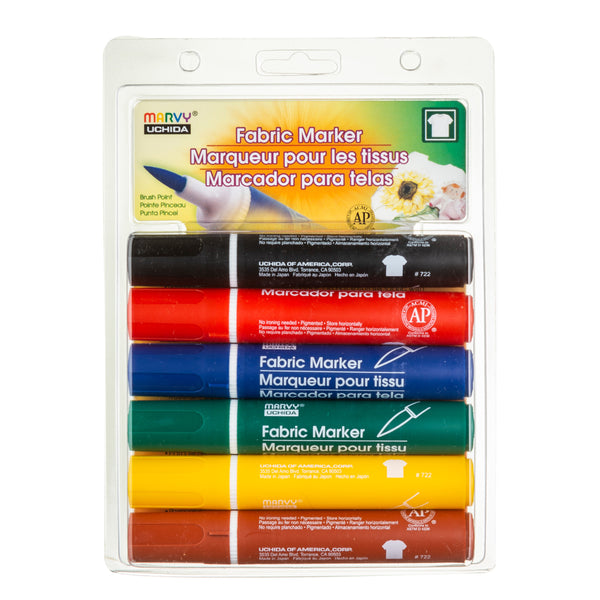
- DecoColor Fabric Marker, black
- Deco Just Glitter Premium, gold
- Piece of cardboard
- Ruler, optional
- Pencil, optional
Instructions for Glitter Awesome Bag:
- Pre-wash your tote bag. Do not use fabric softener.
- Insert a piece of cardboard inside the bag. This will ensure that the ink will not transfer to the backside.
- You can use a pencil to write out your message first, but that isn’t necessary.
- When using the DecoColor Fabric Marker and Deco Just Glitter Premium Marker, you should depress the tip of the marker on a piece of scrap paper first to get the ink started. Make sure to shake the marker well with the cap on. If you feel your marker getting dry while you are using it, you can depress again on a piece of scrap paper. While using with these markers, do not depress the tip.
- Write out the word “Awesome” in all caps first using the Deco Just Glitter Premium Marker. I like to lay a ruler on my bag where the bottom of the letters should line up. This will keep your wording straight. Tip: If you want to ensure that your word is centered, start the word with the middle letter, in this case, ‘S’. Then write the rest.
- Once you’ve written the word once. Go over the lettering a second time to add additional glitter, optional.
- Using the DecoColor Fabric Marker, write out the rest of the phrase above “Awesome”.
- Allow your bag to dry for an hour. Then heat set by placing a piece of cloth over your design and ironing it on a low setting.


Leave a comment