
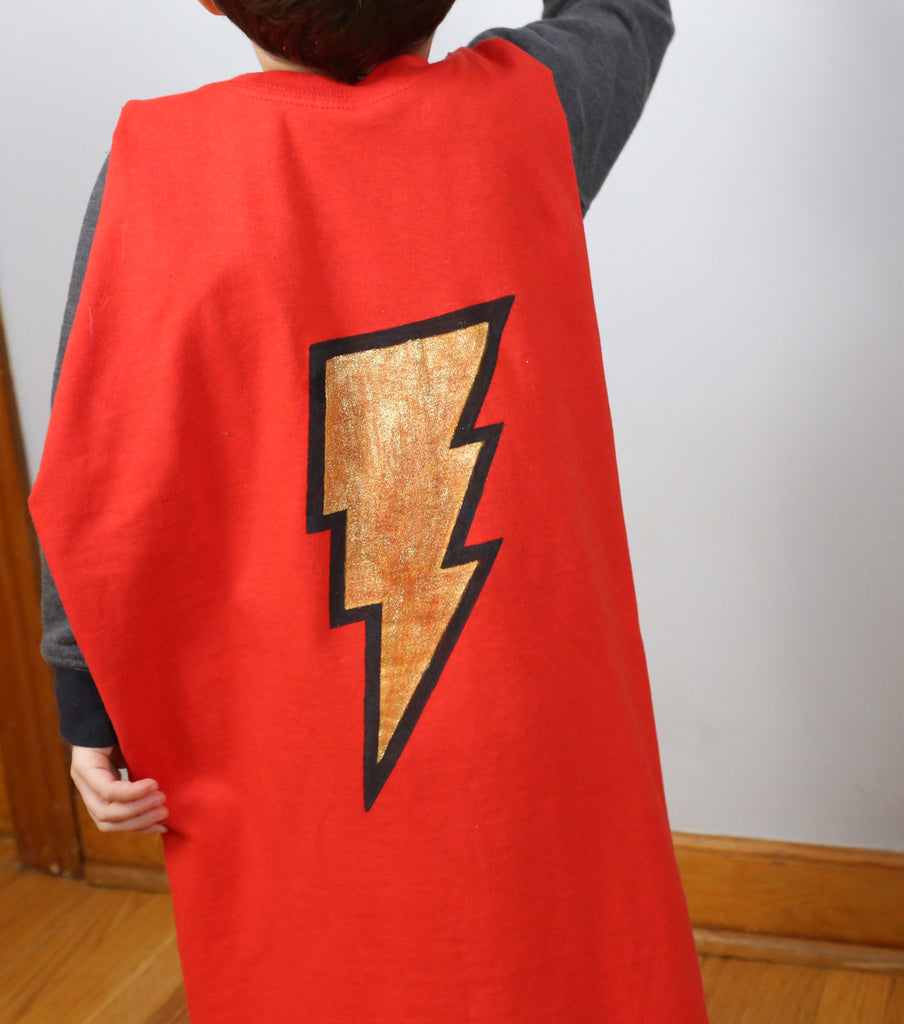
No-Sew Super Hero Cape
Skill Level: Beginner
Materials:
- Cotton T-shirt
- DecoColor Fabric Marker, yellow and black
- Deco Just Glitter Premium, gold
- Piece of cardboard
- Scissors
- Ruler, optional
- Pencil, optional
Instructions for No-Sew Super Hero Cape:
- Pre-wash your t-shirt. Do not use fabric softener.
- Cut off the sleeves of the t-shirt. Remove the entire front of the t-shirt.
- Fold the remaining collar and back of the t-shirt in half and lay on a large surface. Cut the fabric at a slight angle from the bottom to the collar to create a cape shape.
- The remaining collar will go over the head and the back of the t-shirt will lay down the back like a cape. If the collar is too loose for a child, you can cut the collar in half and attach Velcro to adjust.
- Place a piece of cardboard on your work surface and lay your cape on top. This will ensure that the ink will not transfer to the backside.
- You can use a pencil to draw your design, but that isn’t necessary.
- When using the DecoColor Fabric Marker and Deco Just Glitter Premium Marker, you should depress the tip of the marker on a piece of scrap paper first to get the ink started. Make sure to shake the marker well with the cap on. If you feel your marker getting dry while you are using it, you can depress again on a piece of scrap paper. While using with these markers, do not depress the tip.
- Using a ruler or tracing a pattern, draw a lightning bolt on the back of your cape.
- Create an outline for the lightning bolt with DecoColor Fabric Marker in black. Allow to dry for 30 minutes.
- Fill in the lightning bolt with a yellow DecoColor Fabric Marker. Allow to dry for 30 minutes.
- Go over the yellow center area with the Deco Just Glitter Premium Marker. For a more glittery effect, go over the design more than once.
- Allow your cape to dry for an hour. Then heat set by placing a piece of cloth over your design and ironing it on a low setting.


Leave a comment