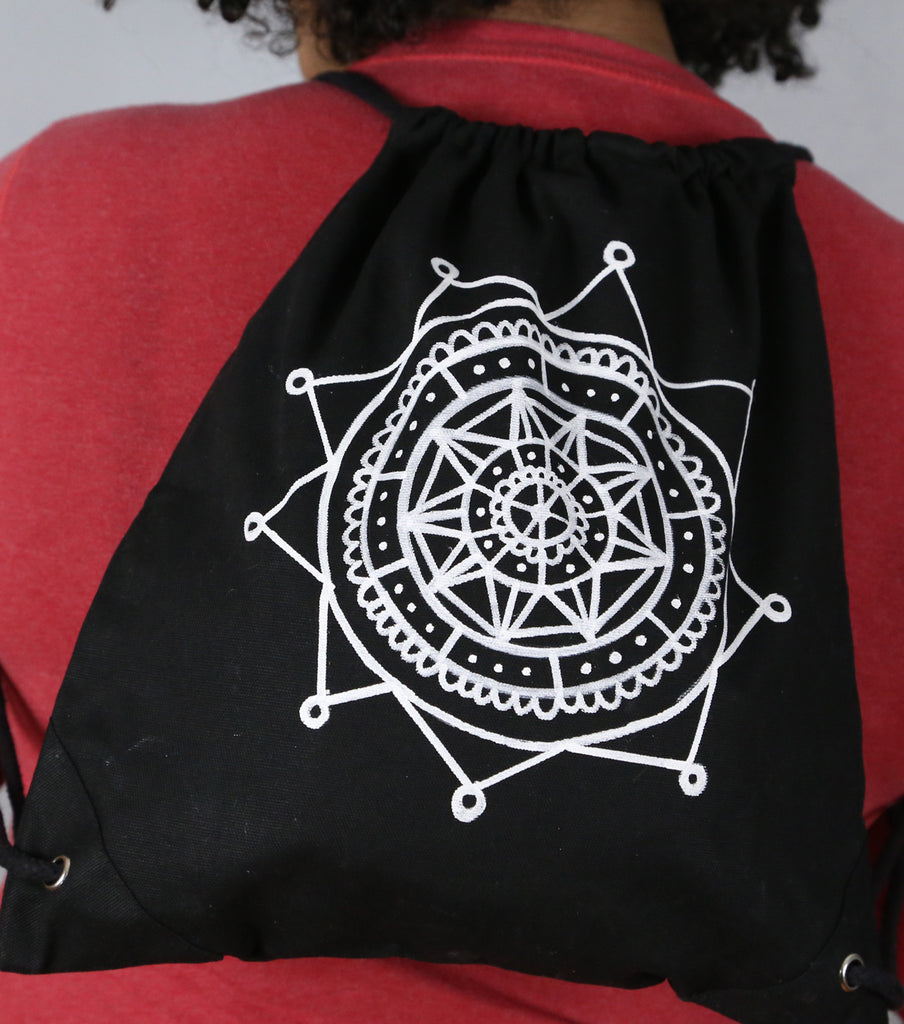
Easy Mandala Backpack With Fabric Markers
 Materials
- Black DrawstrIng Backpack
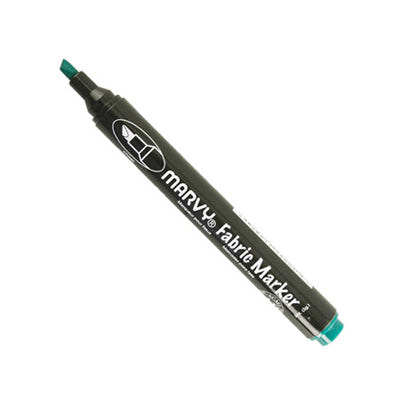
- DecoColor Fabric Marker, white
- Piece of cardboard
- Ruler, optional
- Pencil, optional
- Compass, optional
Instructions for Mandala Drawstring Backpack
- Pre-wash your drawstring backpack. Do not use fabric softener.
- Insert a piece of cardboard inside the backpack. This will ensure that the ink will not transfer to the backside of the bag.
- You can use a pencil to draft your design first but that isn’t necessary.
- When using the DecoColor Fabric Marker, you should depress the tip of the marker on a piece of scrap paper first to get the ink started. If you feel your marker getting dry while you are designing your mandala, you can depress again on a piece of scrap paper. While drawing with the DecoColor Fabric Marker, do not depress the tip.
- Create circles on the bag using a compass or even clear bowls from the kitchen. Clear bowls are a great tool because you can see where you are creating your design. This will help maintain the shape of the mandala.
- Once you have two or three circles mapped out on the bag, you can start creating the inside designs. It’s best to use a ruler for any straight lines.
- Allow your bag to dry for an hour. Then heat set by placing a piece of cloth over your design and ironing it on a low setting.


Leave a comment