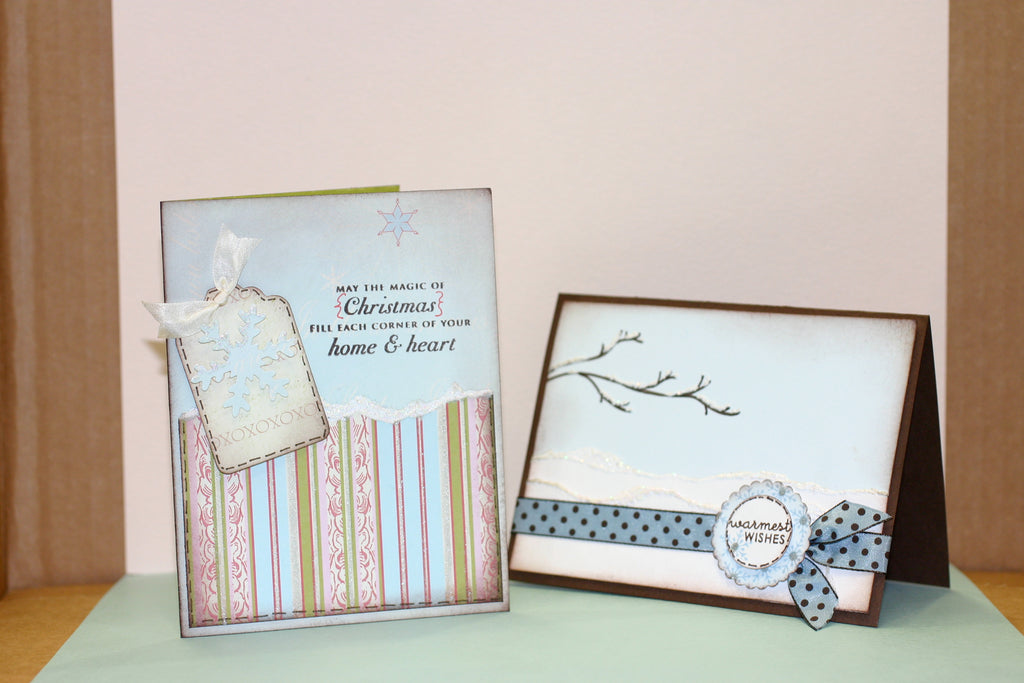
Warmest Wishes Card
Skill Level: Beginner
Materials:
- Marvy® Just Glitter Marker - Silver
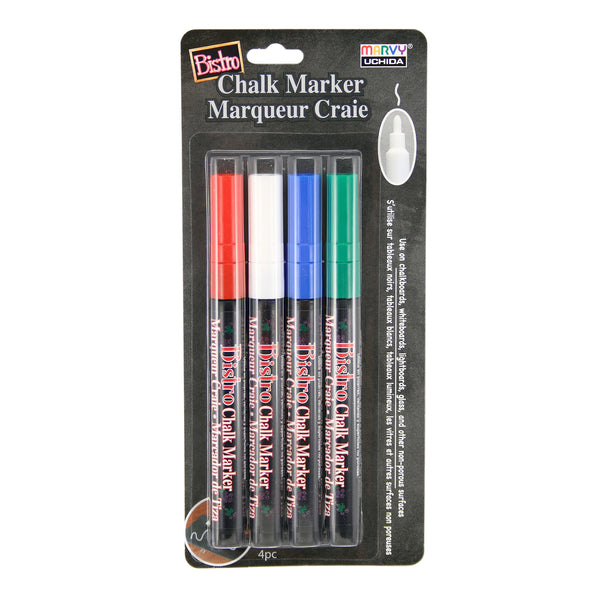
- Marvy® Puffy Velvet Markers - White
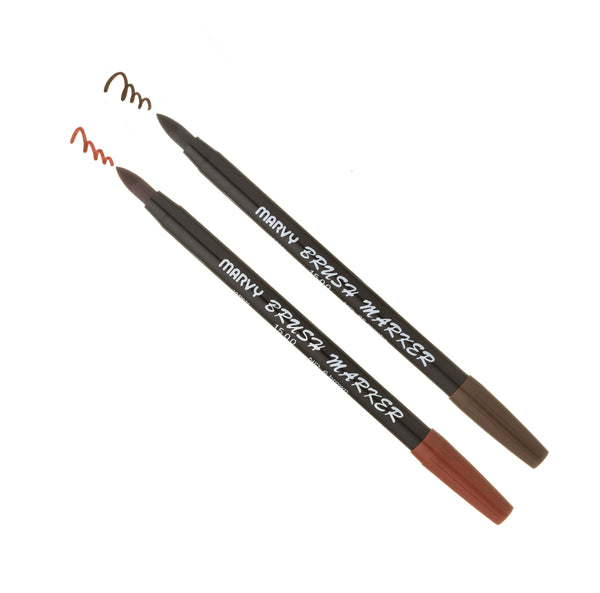
- Marvy® Le Pen - Brown
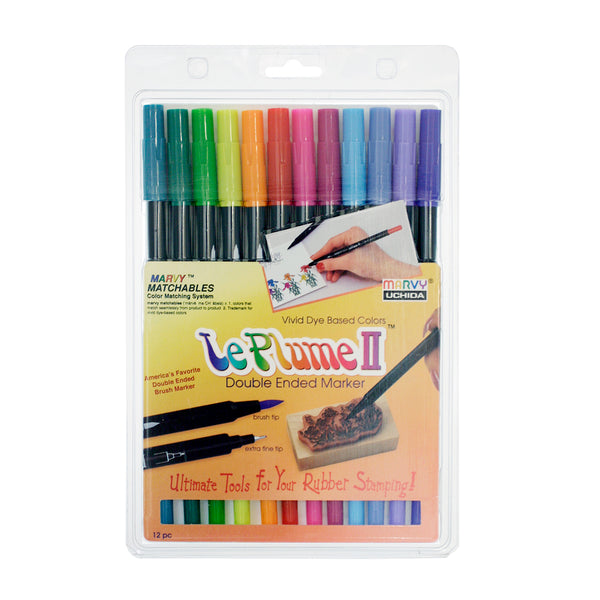
- Marvy® Le Plume Pen - Brown
- Marvy Matchables Ink - Brown and Lt. Blue
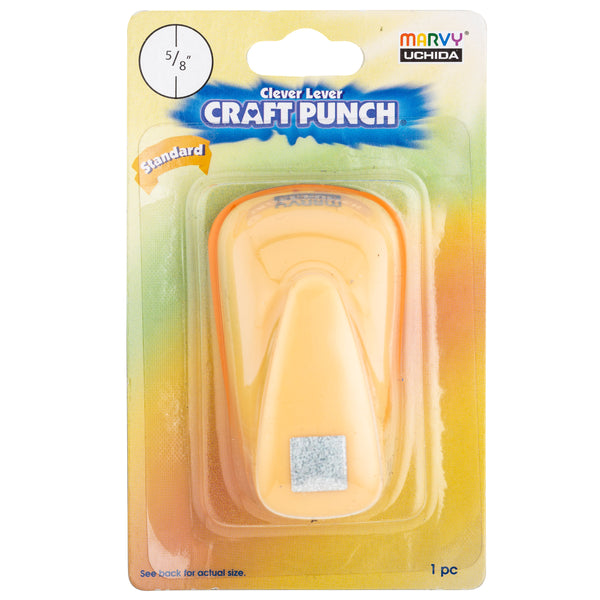
- Marvy® Clever Lever Jumbo circle Craft Punch
- Marvy® Clever Lever Extra Jumbo Scalloped Circle Craft Punch
- Brown, White and Light blue cardstock by Prism
- Clear Stamps from the Holiday Treats Set by Papertrey Ink
- Blue and brown spotted Ribbon by Creative Impressions
- Zip Dry ™ Paper Glue by Beacon Adhesives
- Foam Mount Squares
- Loose glitter
- Synthetic sponge
Instructions:
All measurements are in inches
- Trim Brown cardstock to 8 ½ x 5 ½ inches using the Paper Trimming buddy with a straight blade. Switch to the scoring blade and score cardstock in half to form base card.
- Trim Light Blue cardstock to 4 x 5 ¼ inches, Freehand draw a branch with the Brown Le Plume Pen and Apply White puffy Velvet Marker to the branches to resemble snow. Heat Set. Press set snow into loose glitter. Sponge edges of the blue cardstock with Brown ink and adhere to card with Zip Dry. Tear off the top layers of trimmed white cardstock and apply White puffy Velvet marker to the torn edge. Heat set and press into loose glitter. Adhere white paper to the card with Zip Dry paper glue.
- Attach ribbon to card. Stamp Sentiment in brown ink and snowflake in Lt. Blue ink onto white cardstock, Punch out with Circle punch. Freehand draw stitching with the brown Le Pen.
- Punch out Lt. Blue cardstock with the scalloped circle punch. Stamp snowflakes in Lt. Blue ink, place dots of Silver Just glitter into the center of the snowflakes and sponge edges with Brown ink. Layer and adhere to card with foam mount squares.
[author name="Created By: Lisa Johnson"]

Leave a comment