Chalkboard Painted Pots
Designed By: Simone Collins
Skill Level: Beginner
Materials
- Terra Cotta Pot
- Easy Chalkboard Marker
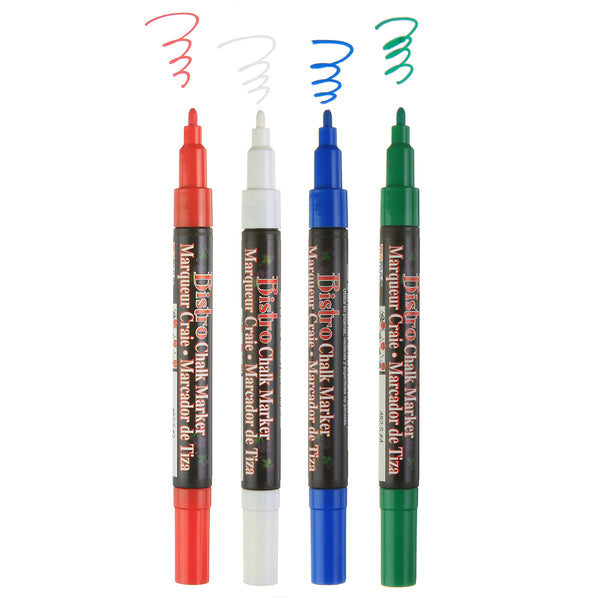
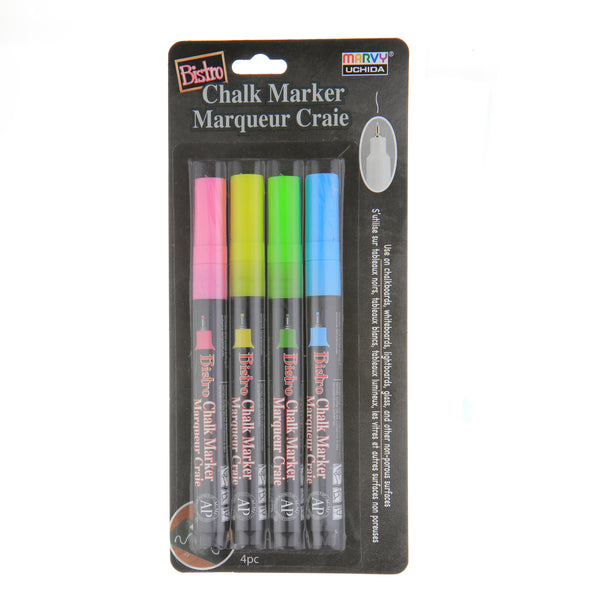
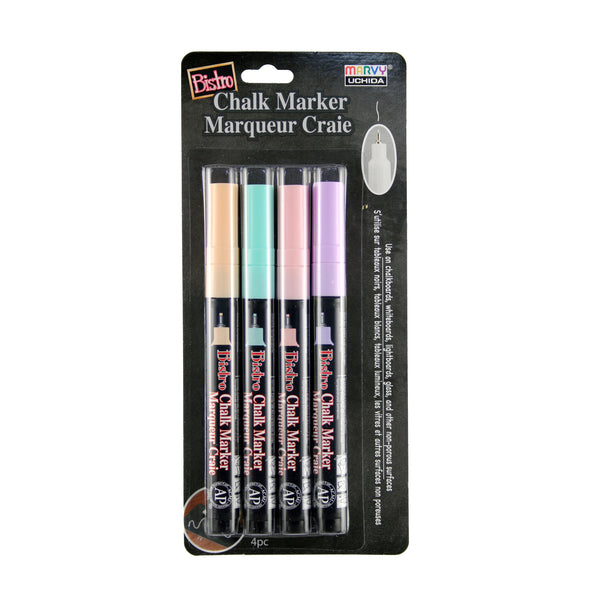
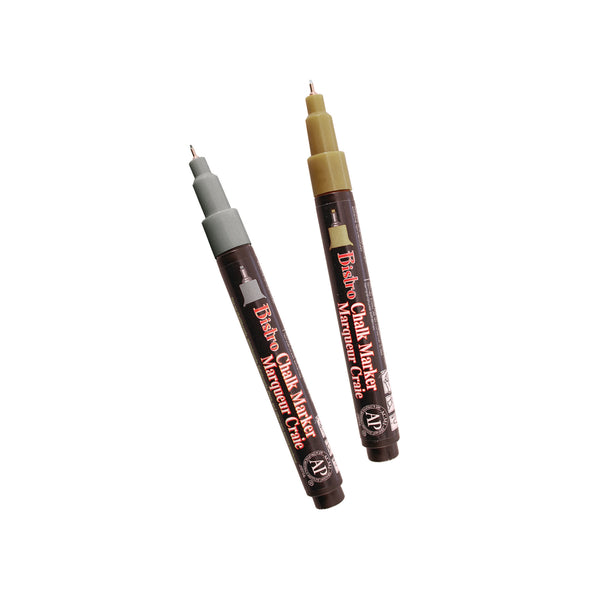
- Bistro Chalk Markers, a variety of colors
- Acrylic Paint, white
- Foam Paint Brush
- Plain White Chalk
- Paper Towels
Instructions for Chalkboard Painted Pots
- Use the Easy Chalkboard Marker to paint the bottom half of the pot.
- Paint the top ring around the pot with the white acrylic paint. Allow to dry.
- Take the plain white chalk and color all over the black chalkboard paint.
- Wipe off the chalk with the paper towel. Do not use water.*
- Using the Bistro Chalk Markers, draw a design all over the bottom half of the pot. This could be a repeated pattern or even words.
- If you make a mistake with the Bistro Chalk Markers, you can erase it with just a tiny bit of water on a cotton swab.
- The Bistro Chalk Markers can be erased and you can change your design whenever you’d like.*
*By coating the chalkboard paint with chalk first that is dry wiped away, you are conditioning the chalkboard. Once the chalkboard is conditioned, the Bistro Chalk Markers can be erased.






Leave a comment