Bullet Journaling 101: Intro to Bullet Journaling
At first glance, bullet journaling seems like a complex way to organize yourself. All of the examples online feature bullet journal pages that look like they belong in an art museum, but in reality, a bullet journal can be as simple or as complex as you chose! After learning the basic structure of bullet journaling 101, you’ll see there is so much freedom to create a system that works for you. The versatility of the bullet journal is what makes it the best (and simplest) way to organize your life!
Bullet Journaling 101: Intro to Bullet Journaling
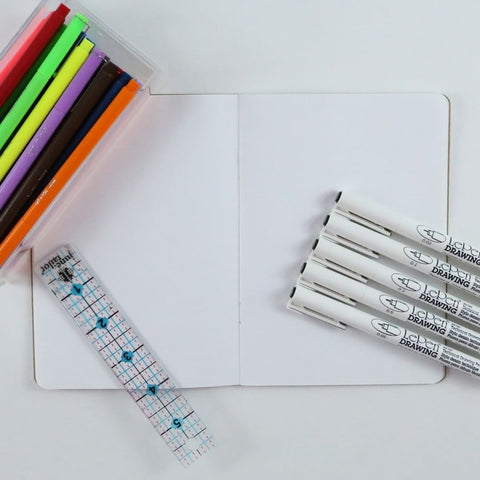
Step 1: The first step to creating a bullet journal is to collect your tools. The basic things you’ll need are a notebook, pens, and a ruler. Any notebook will work, but a notebook lined with dots is most common because that was the original style of the bullet journal format. You can use any notebook you’d like to make it work for you! The pens you need really depend on how you want to design your bullet journal, but here are some must-haves to get started:
- The Le Pen is a bullet journaling fan-favorite! It’s the best pen for bullet journals because it writes smooth and is smudge proof. You can start simple with black or decorate with any of the 23 other colors.
- The Pastel Liner is a chisel tip highlighter that is perfect for cover pages and goal pages. Use these liners to highlight the most important notes in your bullet journal!
- These Color In Brush Tip Markers are good tools for hand lettering, highlighting, and underlining. These markers are great for making your bullet journal pop!
- Gel Excel Pens are perfect for detailing in your bullet journal! These metallic pens are perfect for adding little accents or for starring important information. The ink won’t bleed, keeping your journal nice and neat.
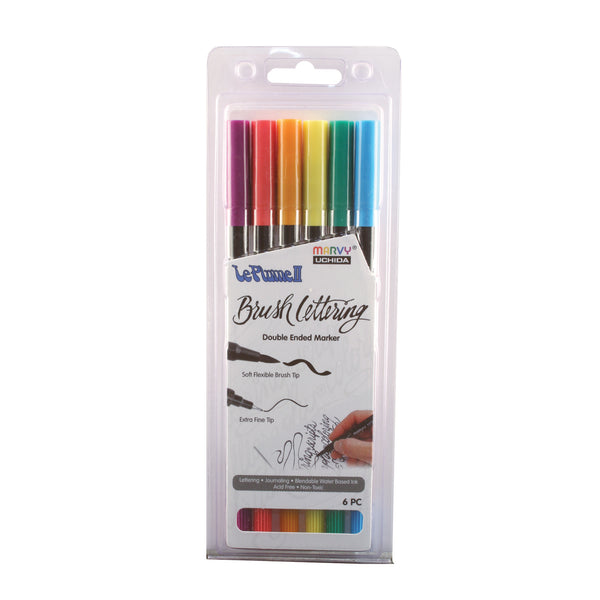
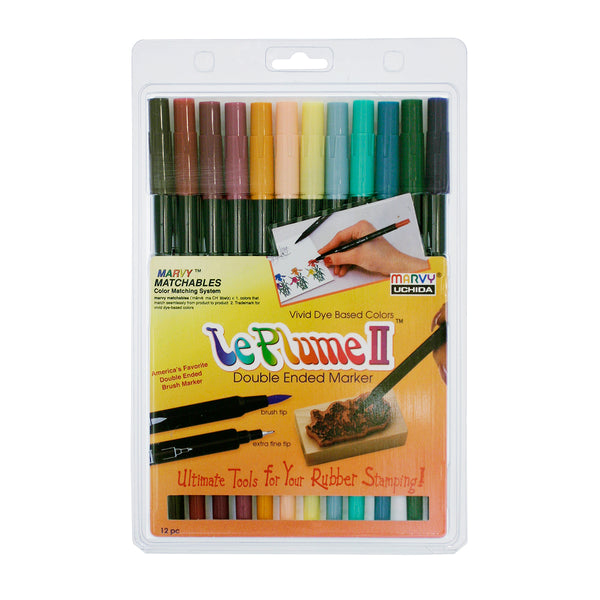
- The Le Plume II has a pen on one end and a brush tip marker on the other. Use the pen end to write out your logs and the marker end to decorate your pages. It’s two useful tools in one.

Step 2: The bullet journal layout. The first two pages will be your index. At first just label the top of the page, “Index,” once you create your pages you’ll fill in the index. Feel free to make your index as simple or as intricate as you like, but this will be your home base to find all the key pages in your journal, so make it easy to read for you!
The next page is the key. This is where you will keep track of the symbols you’ll use in your logs. You can use whatever symbols you want, but most people use a dot to symbolize a task, an X for a completed task, a > for a started task, an arrow for a migrated task (a task that has been moved to another month or day), on open circle for events, - for notes, * for marking an event important, a heart for something to look forward to, and a triangle for appointments. This part seems really overwhelming, but all it is just an advanced to do list. And remember, this is your journal. There is no wrong way to do it. If these symbols are too hard to remember or something works better for you, do it that way!

After the key is the future log. This is a great way to remember things that are farther out. Split the page into different squares and label them with each month. This is where you write down important events to remember when you are making the monthly log.
There are two ways to set up a monthly log. You can either create a traditional box calendar or write out each date and day of the week vertically. You can use the monthly log like you would any calendar, writing down appointments or events. Right next to the monthly log is the monthly task list which is simply a to-do list for the entire month.
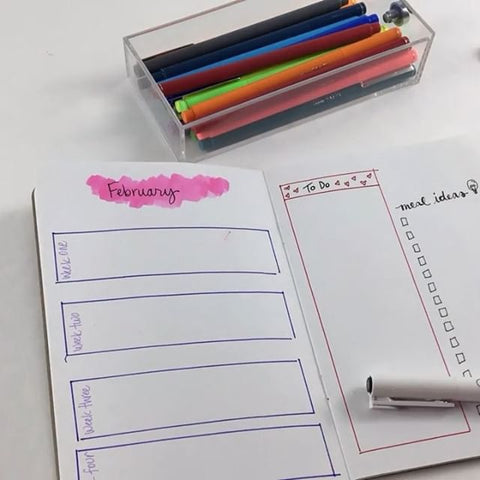
Next are weekly pages. Weekly pages are split into either five or seven sections, depending on if you want to include the weekend. Each day has a space to write all of your daily tasks, events, and appointments. If a task was not completed or has to be moved use the arrow symbol and move it to another day.
Step 3: Collections or goal pages. These are what set bullet journals apart from a standard planner. Basically, collections are anything that isn’t a log or to-do. Collections are a good way of keeping track of long term projects or lists. Common collections are reading lists, grocery lists, gift ideas, and anything you want to remember. You can create them as a checklist, so you check off what you read or buy or you can make them intricate, like a bookshelf where you have drawn in each book you want to read and color it in once you read it!
Goal pages are exactly what they sound like. These are pages that help you keep track of your goals. Goals can be as simple as tracking how many glasses of water you drink per day to as complicated as savings goals.

Remember that the point of a bullet journal is to create a personalized organizer that you can make work for you. You can add more sections or only do those you find helpful. No matter what you decide to do, it’ll be perfect for you! Now that you have the skills to get started with this Bullet Journaling 101 primer, get creative!


Leave a comment