Chalkboard Tote
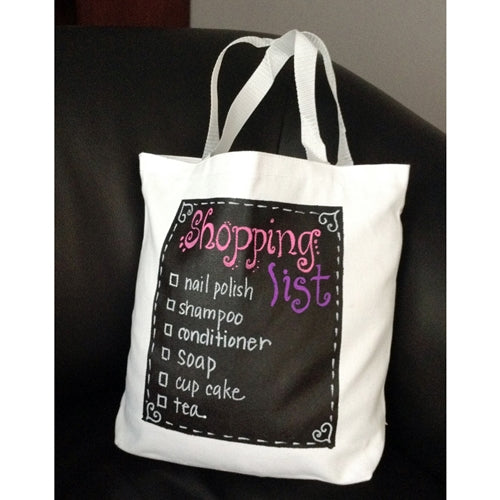
Designed By: Uchida Staff
Crafting Time: 1 hour
Drying Time: 24 ~ 48 hours
Skill Level: Intermediate
Materials:
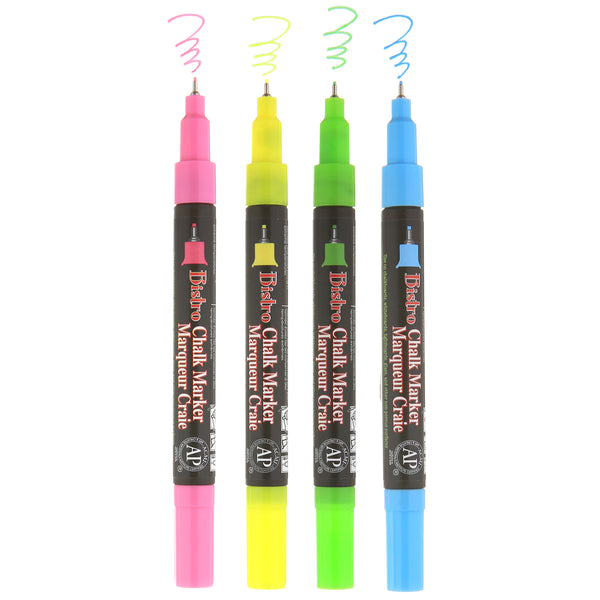
- Marvy®/Uchida Bistro Chalk marker jumbo - white
- Marvy®/Uchida Bistro Chalk marker broad - white, green, fluorescent green
- Acrylic paint - black
- Textile medium
- Paint brush
- Masking tape
- White canvas tote - medium
- Cardboard
- Towel or cloth
- Hot glue gun or spray glue
Instructions:
- Wash and dry tote according to instructions. Iron if necessary.
- On the front of the tote create a square with masking tape. About 8” x 10” inches or any size you like. Press down firmly on tape to make sure there is no gap between the tape and fabric.
- Mix 2:1 ratio of acrylic paint with the textile medium.
- Paint the masked area. Let it dry overnight. Repeat this two more times.
- Once completely dry you will have to condition the chalkboard. Take the Jumbo Bistro Chalk marker white and color the chalkboard completely. Let it dry.
- Take a damp cloth and completely wipe off the white. Remove the masking tape. Note: Conditioning it will fill in the porous areas and prevent ghosting. It won’t be completely black after you do this.
- Write your message and draw on your chalkboard tote.
Note: Use a damp cloth to erase. Hand wash or use gentle cycle to wash tote. Condition it after washing to eliminate ghosting.
[author name="Created By: Marvy Uchida Team" bio="Our talented in-house creative team" image="marvy-uchida-square-logo.jpg" facebook="https://www.facebook.com/marvyuchida/" instagram="http://instagram.com/marvyuchida" pinterest="https://www.pinterest.com/marvyuchida" youtube="https://www.youtube.com/marvyuchida/"]


Leave a comment