
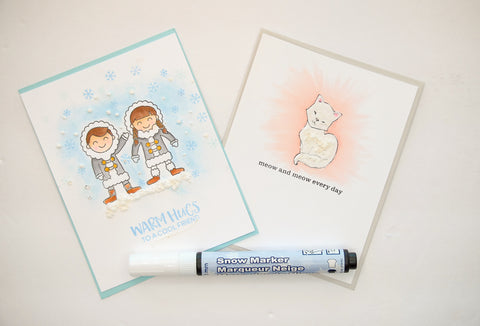
Snow Marker 101
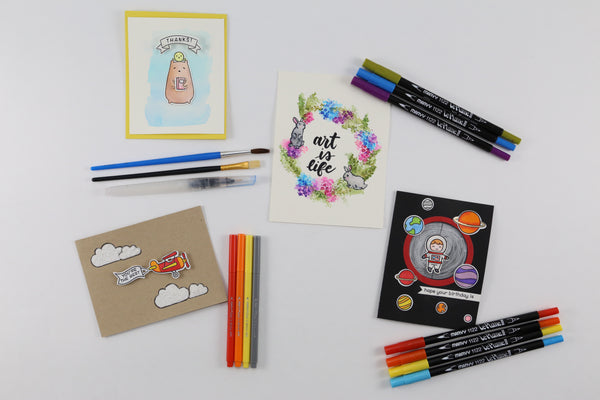
Adding texture to a project can bring it to the next level and the perfect tool to use is a snow marker. These markers contain white ink that when heat is applied, puff up to create a three-dimensional snow-like texture. Here is a snow marker 101 guide to the most common uses of snow markers.
Snow Marker 101
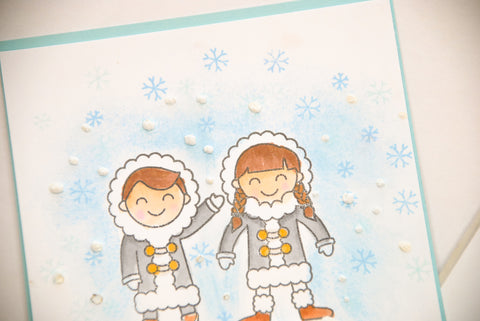
Falling Snow-
To create the effect of falling snow with your snow marker, the first thing you must do acquire an acetate sheet. Push the snow marker down on the sheet until there is a small puddle of ink. Dip the tip of the marker into the small puddle on the acetate sheet, and then dot your surface with small globs of the ink.
Once you have created all of the falling snow you desire, use a heat tool to raise the ink. Be careful not to leave the heat on too long because it can burn your project. As soon as the ink puffs up, take the heat off.
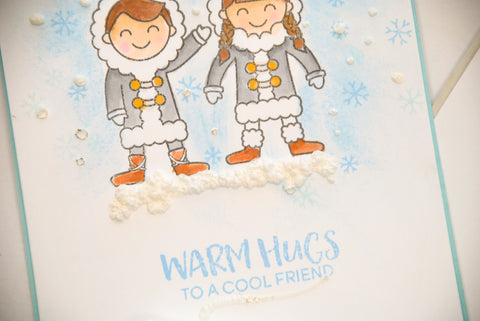
Snow on Ground-
The first step of drawing textured snow on the ground with a snow marker is to lightly draw directly on the surface. Once you have a crude outline of what you want you will need acetate sheet just like with falling snow. Again push the marker down on the acetate sheet until a small puddle appears. Using the ink from the small puddle layer it on top of what you have already drawn until satisfied with the thickness of the ink. This process also works well for detailing and decorating.
The final step is to go over your work with a heat tool to raise the ink. It will likely take a little longer for snow on the ground to puff up than it will for falling snow due to the amount of ink used.
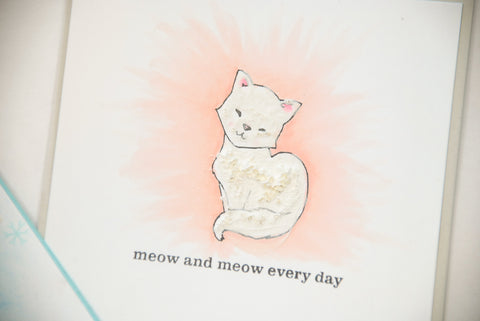
Fur Texture-
Snow markers are also commonly used to create the effect of fur on animals. In order to achieve this, you must have a completed image that you would like to add fur effects for. If you are adding snow marker effects to a hand-drawn image you must do this last.
The first step to adding a textured fur effect to images is to lightly draw with the snow marker all over the image. With this, less is more. The more ink added the less realistic the fur will appear. After covering the whole image be sure to go over significant parts of the animal again, like the ears or face. Lastly, puff the ink up using a heat tool.
Clouds -
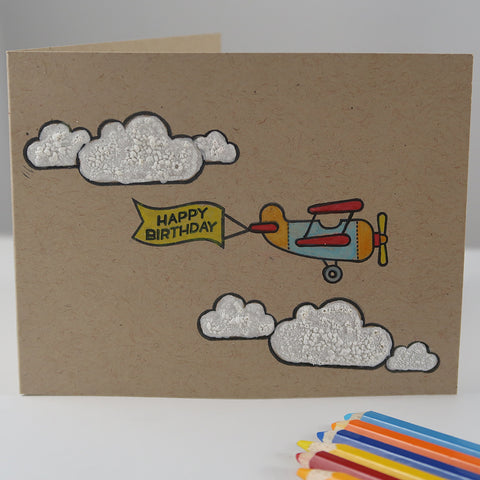
Foam -
Snow markers are really effective tools that bring an extra element to crafts and projects. No matter what you use snow markers for it will look marvelous after being puffed up with the heat tool. The creative possibilities are endless with the snow marker!

Learn How To Use the Snow Marker

$2.19

$22.00

$2.89


$2.39

Comments
Leave a comment