Paper Punch Basics: Getting Started with Paper Punches
Craft paper punches are awesome tools you can use to create unique paper art. Paper punches can be used to make scrapbooks, greeting cards, memory books, and so much more. Here are some paper punch basics that will help you get the most out of your paper punch.
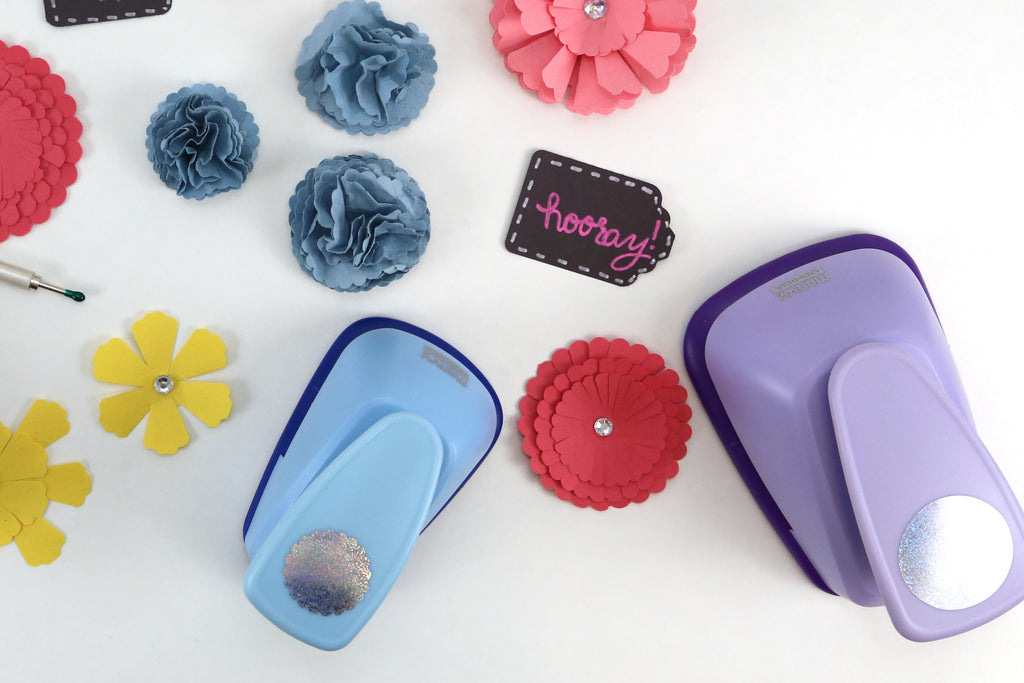
Paper Punch Basics
Finding the right punch-
The biggest factor involved in finding the right paper punch for your project is size. Marvy Uchida paper punches come in seven different sizes: regular, jumbo, extra jumbo, super jumbo, mega, giga, and extra giga. In addition to size shape is also an important factor in finding the right paper punch. Paper punches can come in standard shapes like circles, squares, and triangles as well as non standard shapes like hearts, stars, and merchandise tags.
What can you punch?
Now that you have the perfect paper punch for your project it is important to understand what your paper punch can be used on. Of course paper is the most obvious material that can be used in a paper punch. You can punch all types of paper ranging from standard printer paper to construction paper. With the thicker types of paper like cardstock and construction paper, it is imperative to use more force when punching so the cuts are clean.
Some papers that you’ll want to avoid using punches on are homemade papers, adhesive backed papers, and fabric lined paper. These types of papers often jam up the paper punch and are difficult to cut through. Other materials that can be punched include tissue paper, painters tape, foil, and wax paper.
How to care for a paper punch-
Common problems people run into when using paper punches include jamming, dull blades, and a sticky punch. When paper punches jam the first thing to try is wiggling the punch back and forth. If that does not free the jam, the next step is to lightly hit the punch on a hard surface like a table. Next, try placing the punch in the freezer for a half hour to allow the metal to shrink and release the jam.
If none of those techniques work the last step is to take the paper punch apart piece by piece to free the jammed material. When putting the paper punch back together be sure to clean each piece with rubbing alcohol. Never rip a jammed piece of paper out of a paper punch. That can make it more difficult to remove the rest of the paper.
If the blades of your paper punch have gone dull you can sharpen it with aluminum foil. Rip off a sheet of aluminum foil and fold it a couple times or until the blades are sharpened. Place it in the paper punch and punch it a handful of times. A good rule of thumb is to sharpen your paper punch after ever 100 punches.
If the paper punch is sticking to the paper and having trouble releasing use wax paper to relubricate the blades. Simply place a piece of wax paper under the blades and then punch until the blades are no longer sticking. You should relubricate your blades with wax paper after 50 punches.
Paper Punches are a great way to add some pizazz to projects. There are so many different sizes and shapes that can make your project unique. Taking care of paper punches can seem like a hassle, but now that you know what to do, it is really simple!

Comments
Leave a comment