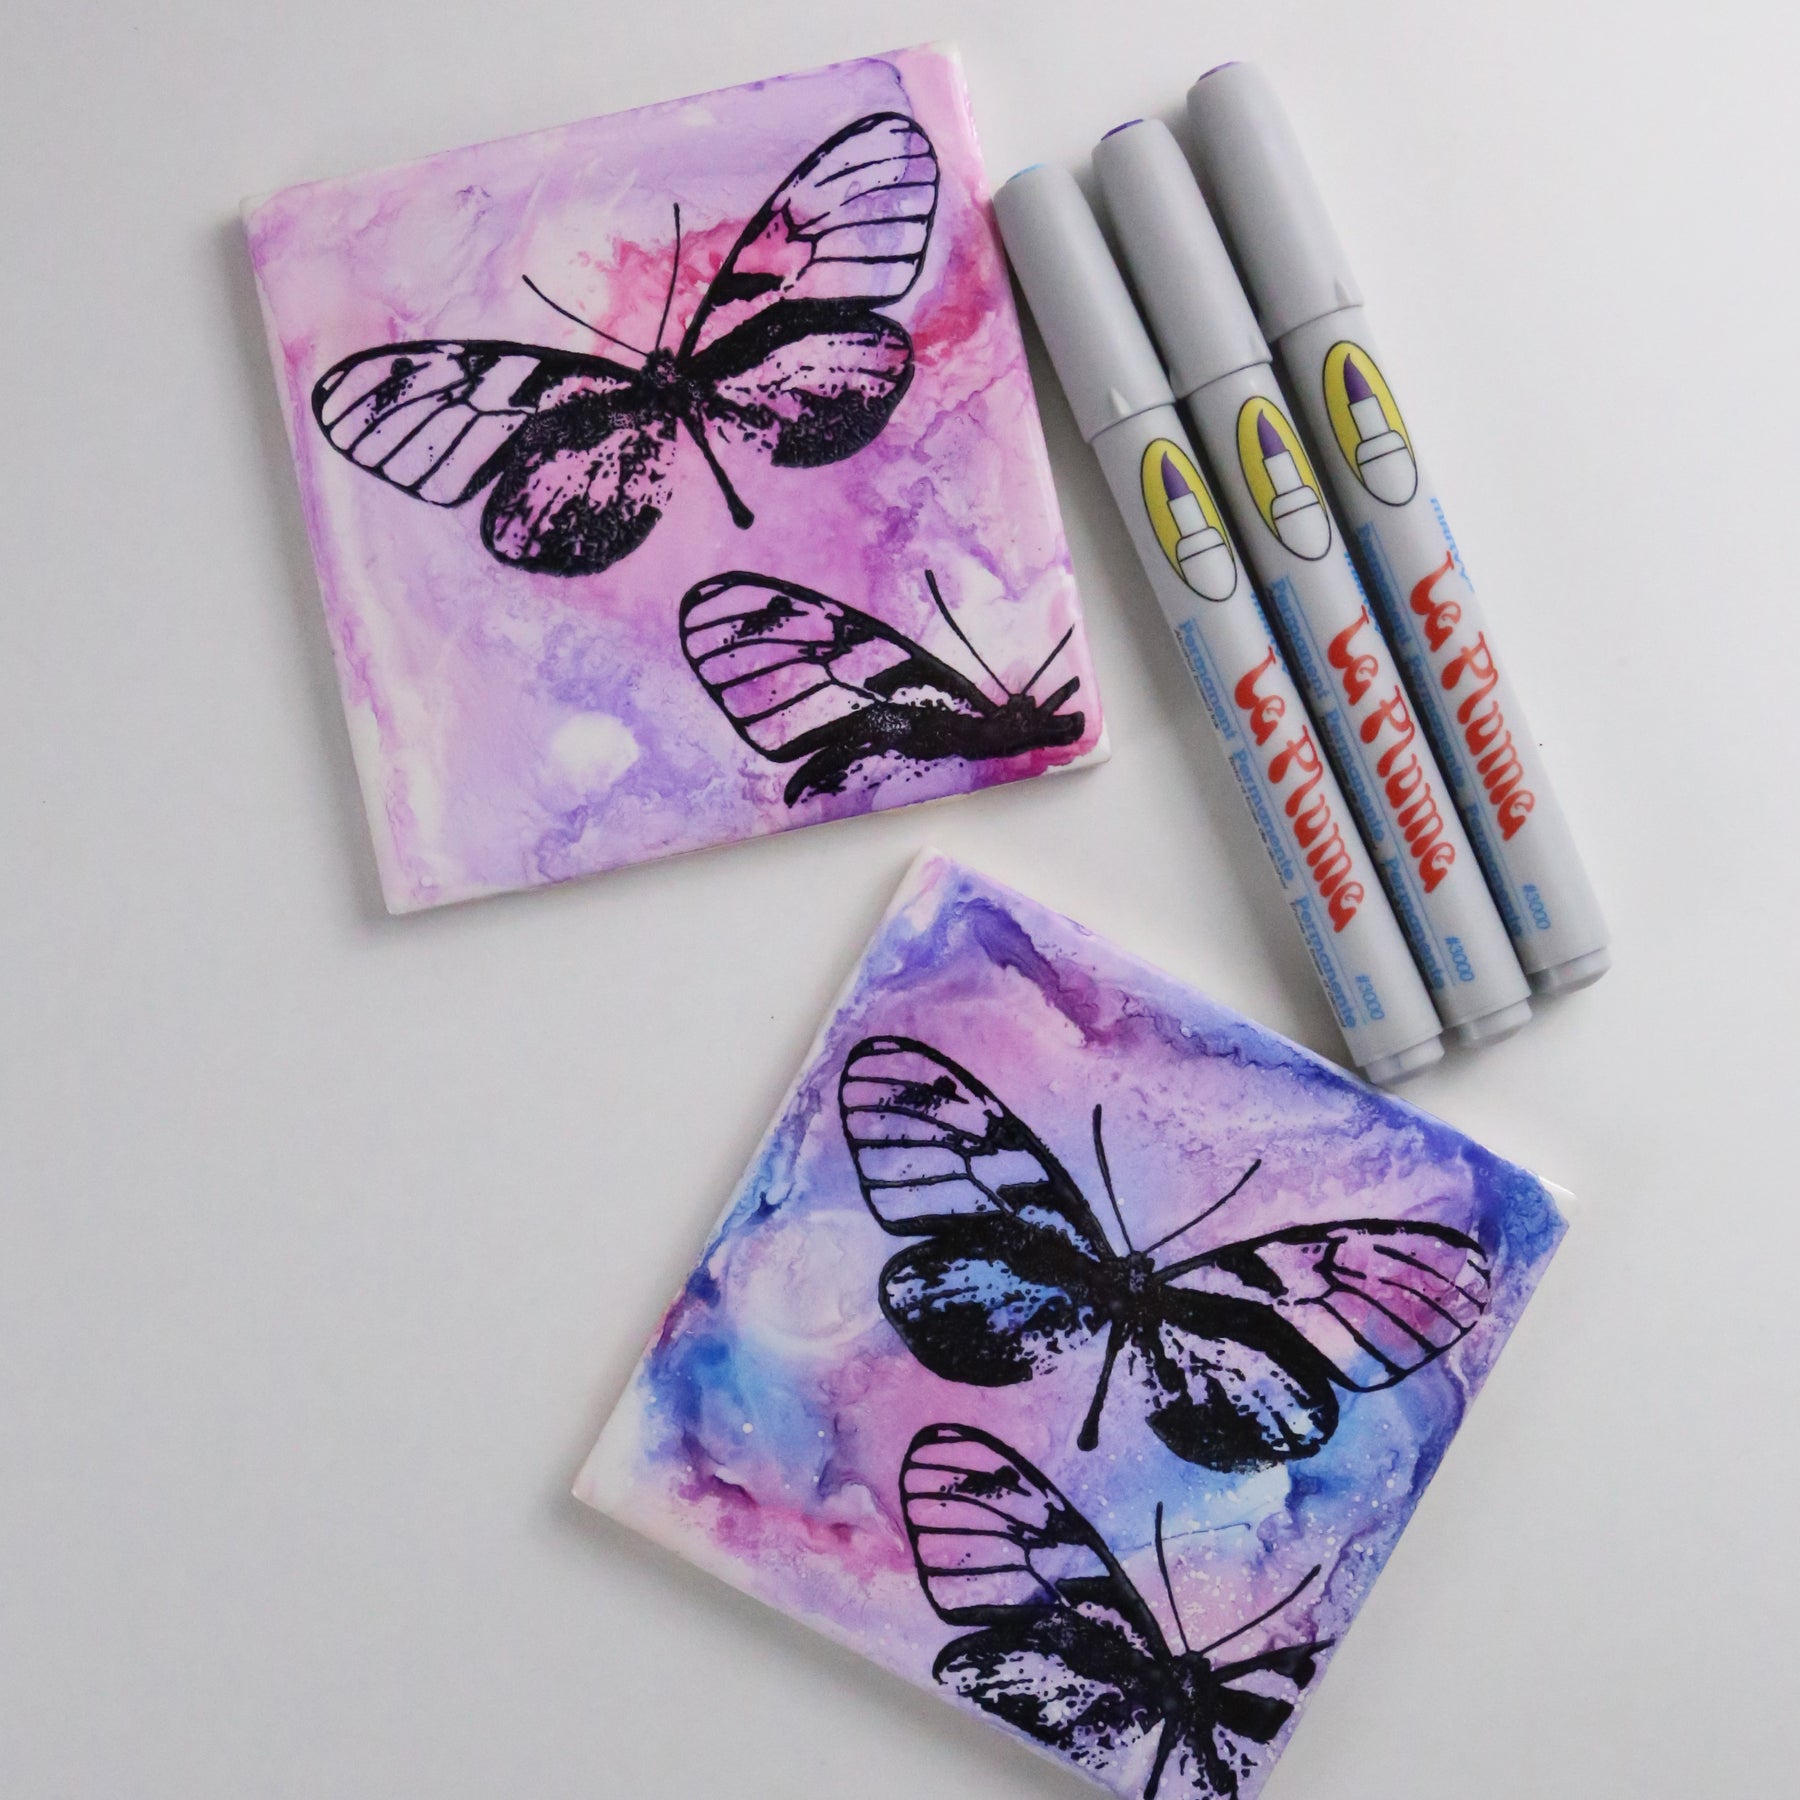
Alcohol Ink Coasters

Skill Level: Beginner
Materials:
- Ceramic Tile
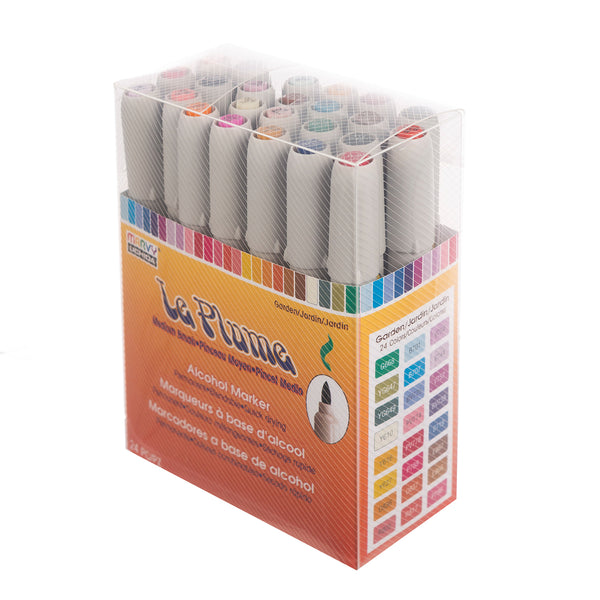
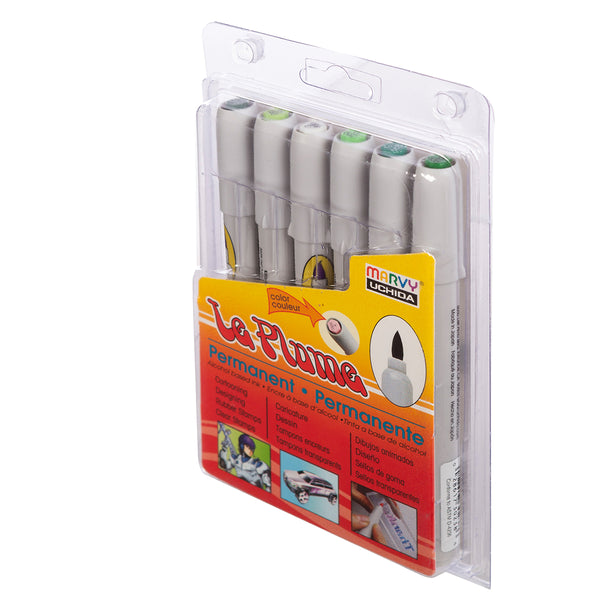
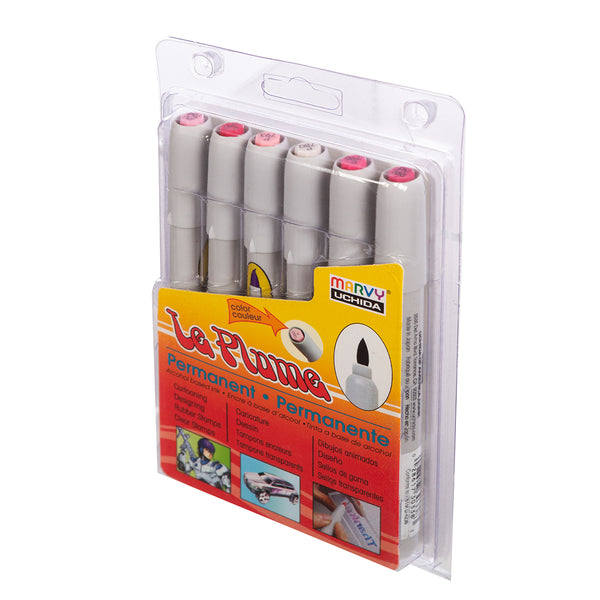
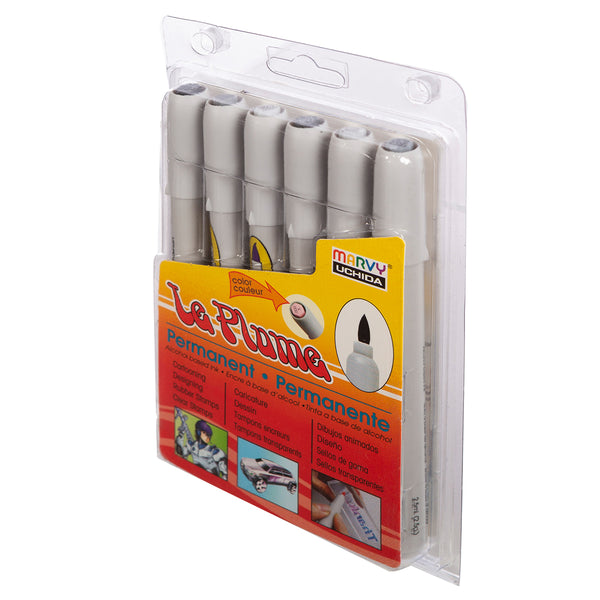
- Le Plume Permanent Marker
- Rubbing Alcohol, 70% by volume or higher
- Small spritzer bottle
- Embossing Heat Tool
- Rubber Stamps, optional
- Permanent Stamp Pad, optional
- Cork sheet
- Adhesive
Instructions for Alcohol Ink Coasters
- Using your Le Plume Permanent Markers, draw dots of color all over the top of your coaster.
- Fill your small spritzer bottle with the rubbing alcohol.
- Spray the color on the coaster. Turn the coaster as you see the colors running. You can always spritz more alcohol on the coaster to make the colors flow more.
- When the coaster is full of color, lay flat.
- Either allow the coaster to dry on its own or use your Embossing Heat Tool. The heat will dry the coaster but also give different effects to the colors. Move the heat around quickly and keep the tool at least 10 inches from the coaster.
- Once the coaster is completely dry, you can add an image over the top of the color using rubber stamps and a permanent ink pad if desired.
- When the top of the coaster is completed and dry, add a piece of cork to the bottom with the adhesive.
Leave a comment